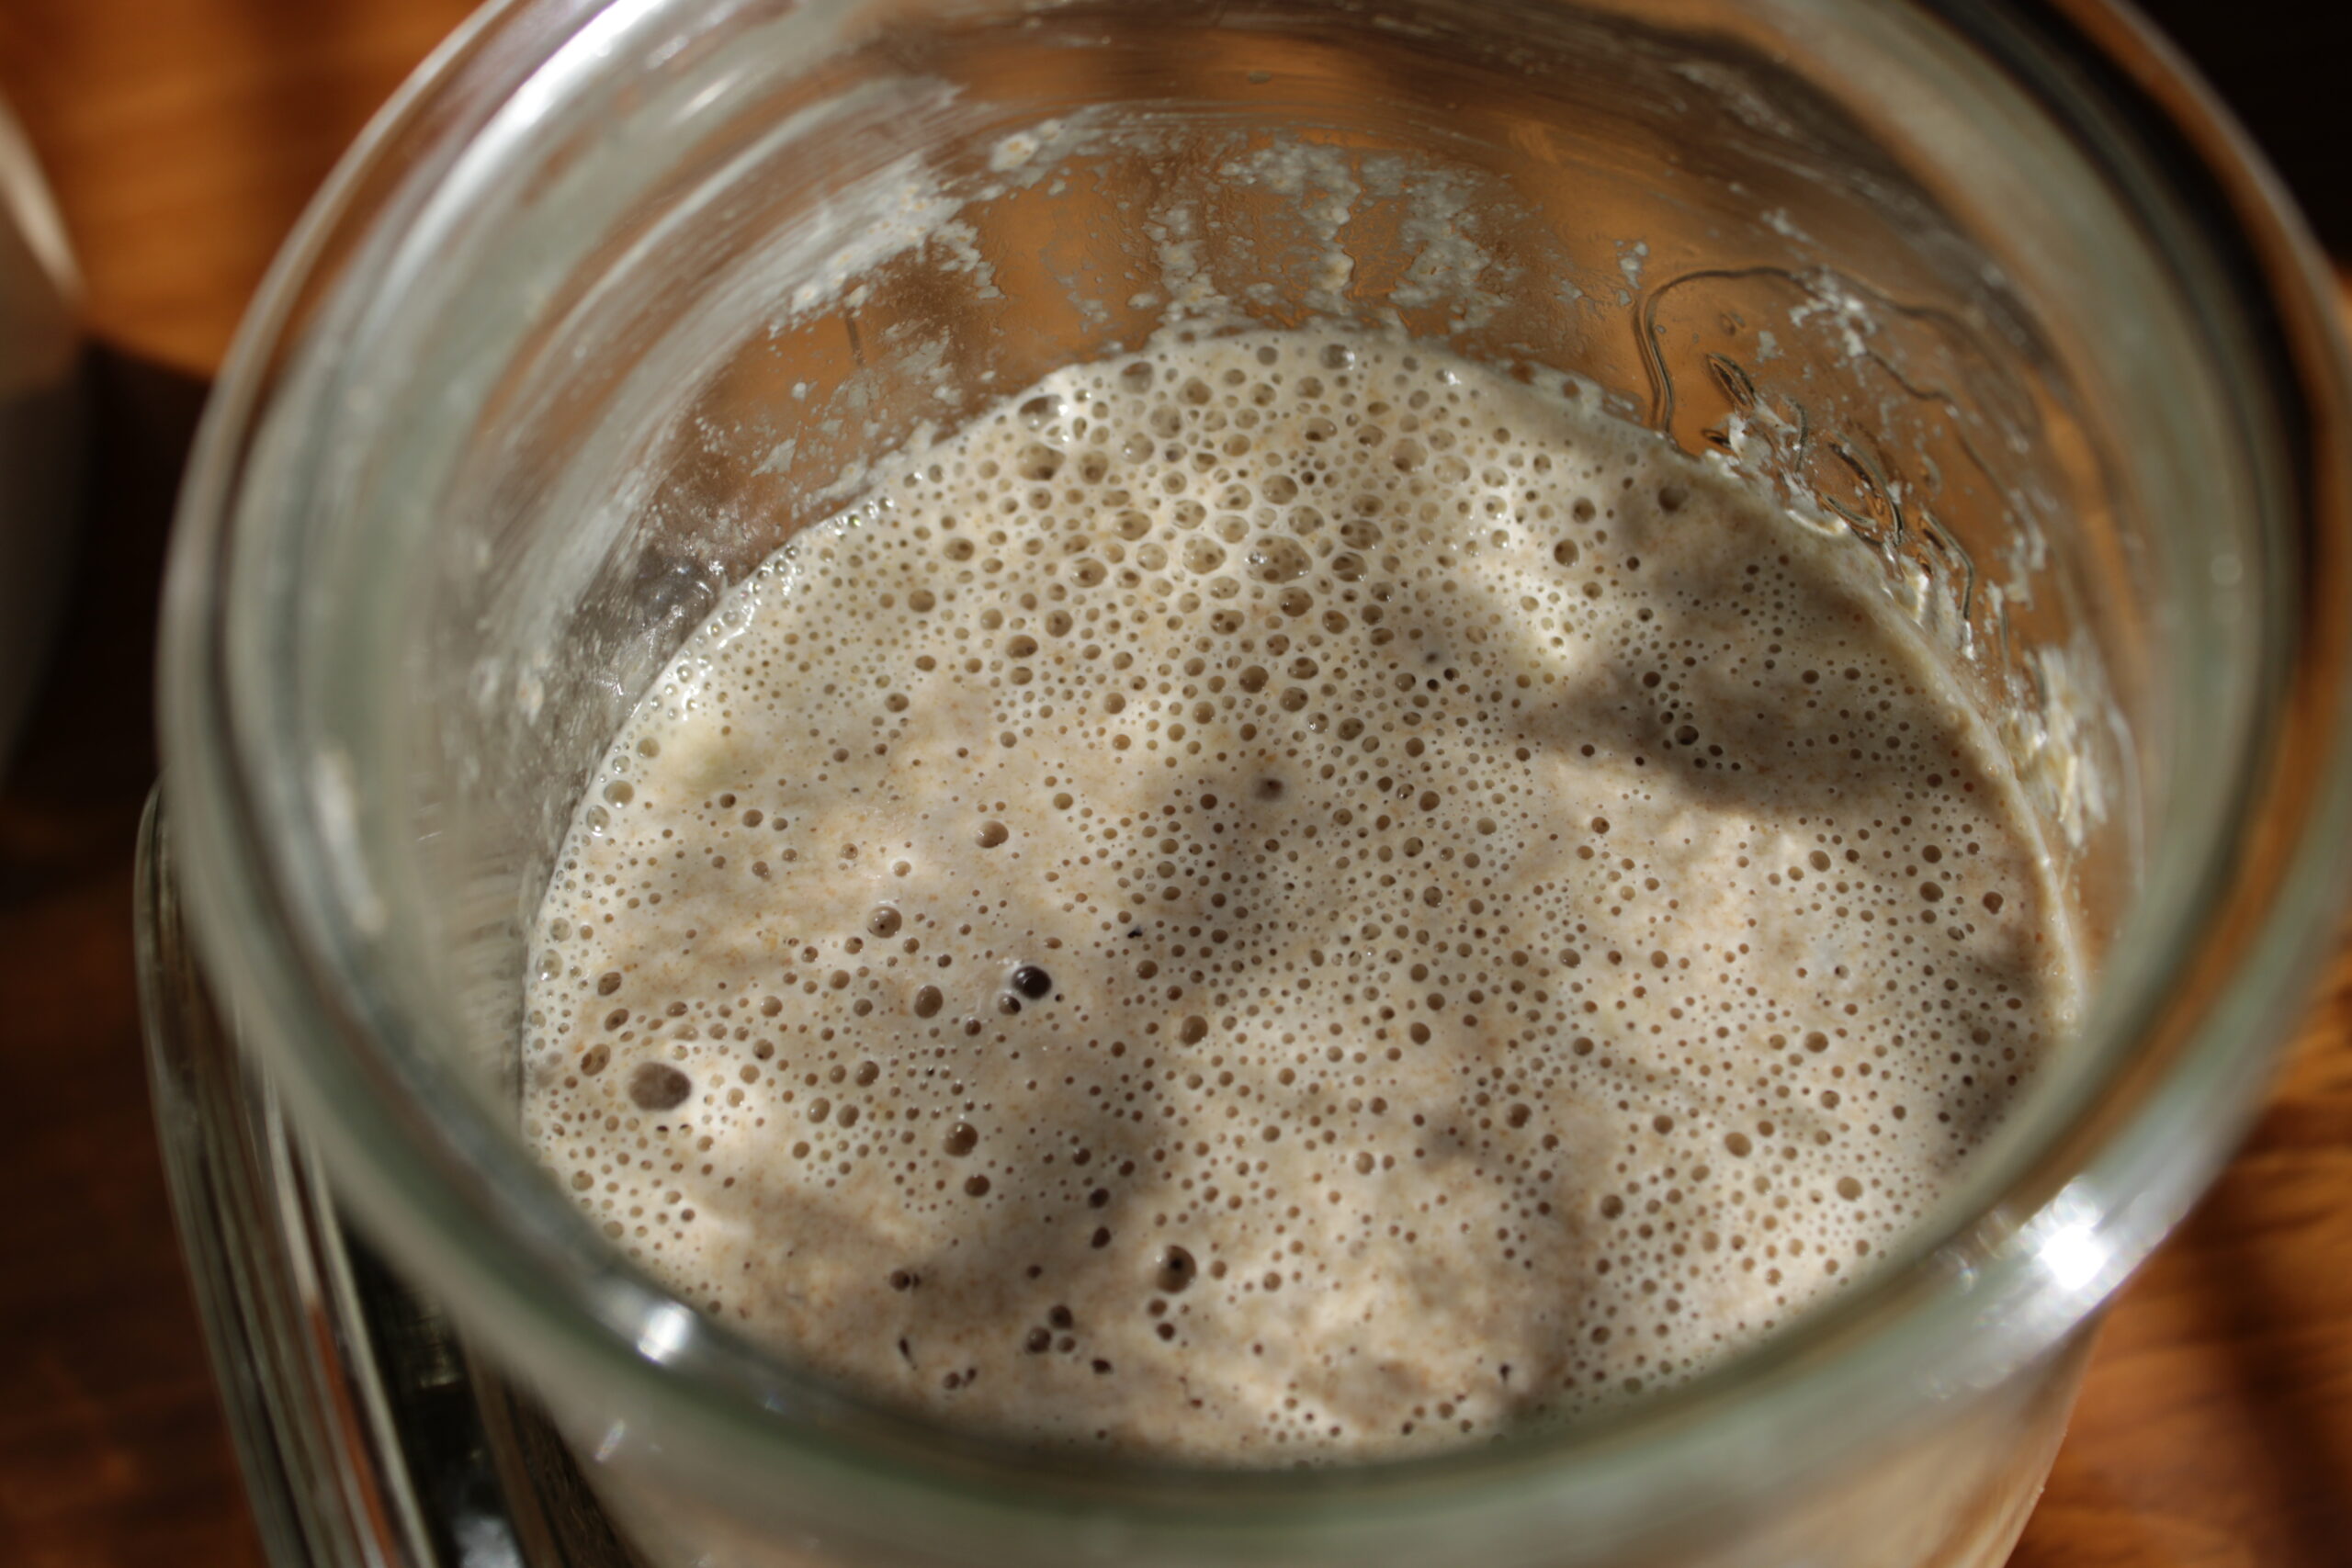
How to Make a Homemade Sourdough Starter (Step-by-Step Beginner’s Guide)
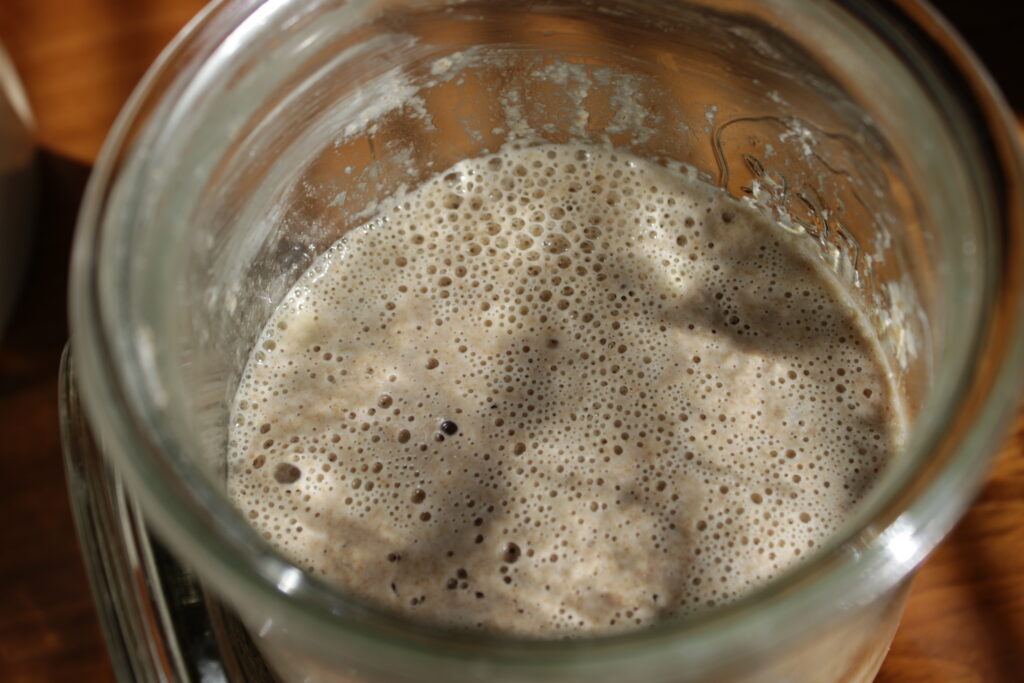
I frequently get asked how to make a homemade sourdough starter, so if you have ever wondered this yourself, you are in the right place. Learning how to make a sourdough starter from scratch is much easier than people expect. It is literally just flour, water and some time. Over the course of about a week or so, naturally occurring wild yeast and beneficial bacteria work together to create a bubbly, active homemade sourdough starter that can be used for breads, dough, desserts, you name it. In this step-by-step beginner’s guide, I’m going to show you exactly how to start a sourdough starter, what to expect each day, which flour and water have produced the best results in my experience, how to recognize normal smells and textures, and when your starter is ready to bake. Whether this is your first attempt or you’re starting over after a failed batch, you will have everything you need to confidently create a healthy, active sourdough starter at home.
What is a Sourdough Starter?
What makes sourdough bread rise?
It helps to go into this understanding the basics of what a sourdough starter is and how it works. When you mix flour and water together, something pretty cool begins to happen. Tiny, wild yeast and beneficial bacteria that naturally exist on the flour and in the environment begin to multiply. These are basically microscopic helpers that have been there all along, and you don’t need commercial yeast for them to appear. As they feed on the natural sugars in the flour, the yeast produce carbon dioxide, and that’s how your starter gets nice and bubbly. This is also what helps your bread rise. At the same time, the good bacteria produce acids that give sourdough its signature tangy flavor while also helping to protect the starter from harmful bacteria. This is a natural fermentation process that transforms basic flour and water into delicious breads and other tasty homemade meals.
Why make your own starter instead of buying one?
You have probably seen sourdough bread sold in the store and thought, “Why make my own when I can just buy it for a few bucks at the grocery store?” And that’s a valid question, but here are a few reasons it is beneficial to make it at home:
- Expense. It’s a very inexpensive product to make at home.
- It lasts forever. As long as you are regularly feeding it, or storing it properly until you plan to feed it again, your starter can go on forever. You can also give some away to friends and family where it can continue to live on in their homes, as well.
- Unique flavor. Once you get the hang of creating and maintaining your sourdough, you will quickly learn how different fermentation times and methods can produce different flavors. You will learn what your family prefers and be able to create to your own unique taste.
- Satisfying project. Creating your own homemade sourdough starter opens a world of possibilities to what you can create in the kitchen, and it’s a very satisfying hobby to explore.
Ingredients and Supplies You’ll Need
Best flour for a sourdough starter
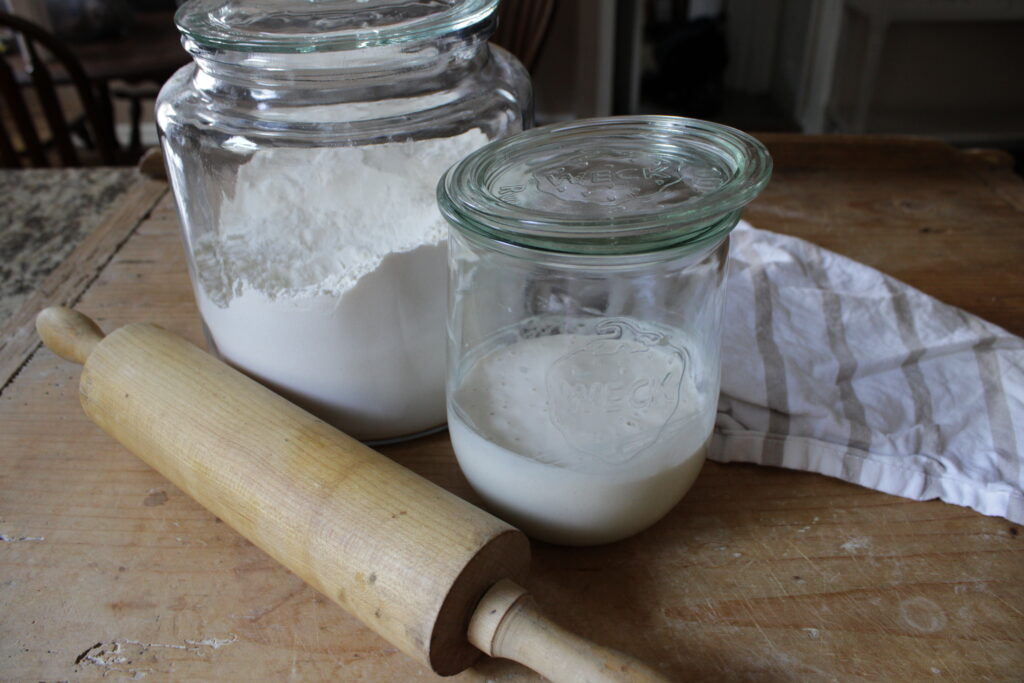
Now let’s discuss exactly what you need to get started and how different flours produce different results when making your own homemade sourdough starter. When you are getting started, unbleached all-purpose flour is a great choice. It’s affordable, easy to find, and works well for creating and maintaining a healthy sourdough starter. Because it hasn’t been chemically bleached, it contains more of the natural microorganisms we talked about above that help get the fermentation process going. If you’re looking for the simplest option, this is what I recommend.
Whole wheat flour contains the entire wheat kernel, including the bran and germ, which means it’s packed with extra nutrients. Those nutrients are like food for the yeast and beneficial bacteria, which helps a new starter become active more quickly. It’s common to see faster bubbling and rising when whole wheat flour is used, especially during the first few days. I usually start with all-purpose flour, and if I feel like my starter needs a little “boost”, I’ll incorporate whole wheat for a short amount of time.
Combination of All-Purpose and Wheat Flour
As I said above, I have mixed flours when I feel my starter needs a little encouragement to get going or strengthen up. There is no right or wrong way to go about this! I’ve done 50/50 or switched between flours entirely, switched back, etc. You have to experiment and figure out what your starter needs, flavors your family prefers, and how you like to maintain your homemade sourdough starter.
These are the exact flours I keep stocked in my pantry:
Best water to use
The good news is that you don’t need anything fancy to make a healthy sourdough starter. Most people have the options of filtered water, bottled water, or well water, and they all work just fine. The goal is to use a water source that doesn’t contain high levels of chlorine or other chemicals that can disrupt the natural fermentation process.
If your tap water has a strong chlorine smell or taste, it’s a good idea to use filtered or bottled water instead. Chlorine is added to kill bacteria in drinking water, but it can also make it harder for the beneficial bacteria in your sourdough starter to thrive.
Water temperature has an impact, as well. Use room temperature or slightly warmer water (75-85 degrees is recommended). If it’s too hot, it can damage the yeast and beneficial bacteria, while if it’s too cold, it can slow down fermentation and slow down the time it takes for your starter to become active.
I recommend just starting with filtered or bottled, room-temperature water to get started.
If your tap water is heavily chlorinated, I’ve had great success using this inexpensive water filter pitcher.
Best jar and tools
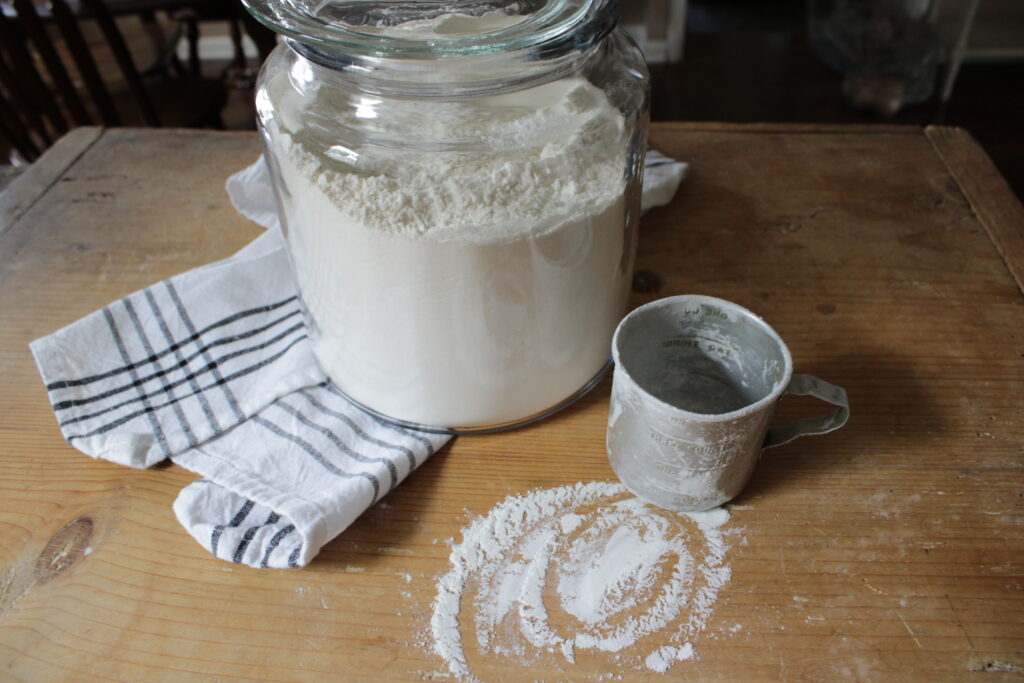
To get started, you will need:
- A glass jar
- A scale
- A spoon
- A rubber band
- A loose lid
I have linked the exact products I use, but any versions of these will work. Don’t overthink it. I have used hair ties wrapped around jars when I didn’t have a Weck jar with a rubber band, and it worked just fine. The one thing that matters is that the lid is not airtight on whatever glass container you choose to use.
Why Kitchen Temperature Matters
Ideal temperature for sourdough starter
Now up to this point, I have given you several recommendations based on my personal experience. What I’m about to explain, in my experience with sourdough over the last 4 years, has been the most impactful on the activity and strength of the many sourdough starters I have made: the temperature of your kitchen.
Think of the wild yeast and beneficial bacteria in your starter like tiny, living organisms.. They are happiest when they are warm, but not HOT. The ideal temperature for a sourdough starter is between 75 degrees and 80 degrees (24-27 degrees Celsius). At this temperature, the yeast and bacteria are active enough to grow steadily; they are producing plenty of bubbles and helping your starter rise predictably. This element can determine how quickly your homemade sourdough starter does or does not become active.
What Happens If Your Kitchen Is Too Cold?
If your kitchen is cooler than 70 degrees, don’t panic. Your starter can survive. It will simply take longer, and you may notice:
- Very few bubbles
- Little to no rise after feeding
- Longer than 7 days to become active
- A thicker texture that doesn’t seem to change much
Many people have worried they have done something wrong when their starter isn’t growing, but often it’s simply because the kitchen is too cool. In colder homes, it’s completely normal for a new starter to take 10-14 days instead of a week to get nice and bubbly.
What Happens If Your Kitchen Is Too Warm?
Warm temperatures speed up fermentation, but too much heat can cause your starter to use up its food much faster, requiring more feedings. If your kitchen is consistently above 85 degrees, you may notice:
- Your starter doubles very quickly after feeding.
- It develops a strong sour or acetone smell (like the smell of nail polish remover)
- Liquid, called “hooch”, forms on top more often
- It seems hungry again only a few hours after feeding.
These signs don’t necessarily mean it’s unhealthy, but it is fermenting faster and may need to be fed more often, making it harder to manage.
You don’t need to keep your starter at a perfect temperature all day, every day. Sourdough is resilient and can adapt to different climates, but knowing the average temperature in your home and how it affects your starter will make it easier to maintain over time.
If your house stays cool like mine during the winter, a proofing box can dramatically speed up starter activity.
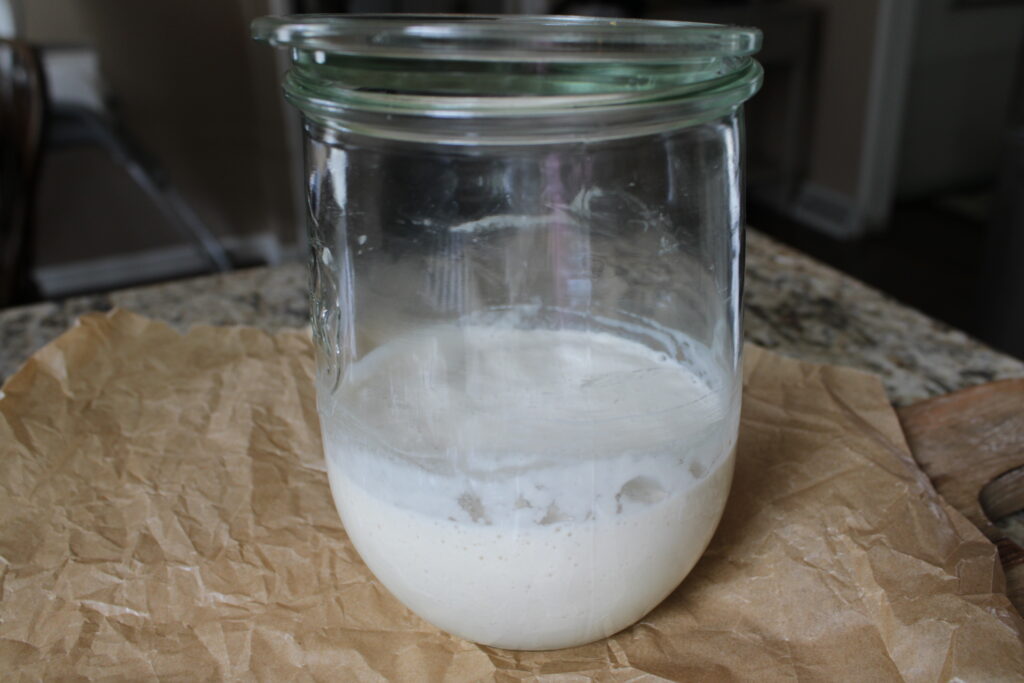
How to keep your starter warm
If your kitchen runs on the colder side, there are a few areas in my kitchen I have tried to warm up my starter:
- Microwave with light on
- Oven with light on (be sure to stick something over the buttons so you don’t accidentally preheat your oven with your starter in there)
- Top of refrigerator
- Counter directly above dishwasher
How to Make a Homemade Sourdough Starter (Day-by-Day)
Making a homemade sourdough starter is a simple 7-day process that uses just flour and water to capture wild yeast and beneficial bacteria. Each day, you will discard a portion of the starter and feed what remains with fresh flour and water. Over the course of 7 days or so, the mixture will become bubbly, active, and strong enough to help homemade sourdough bread rise.
Every sourdough starter develops at its own pace depending on its environment and several other factors, so don’t worry if yours doesn’t look exactly like the photos below or someone else’s online. The temperature of your kitchen, type of flour you use, and natural yeast in your environment will all affect how quickly your starter becomes active.
For best results, keep your starter in a warm spot (75-80F), and use the same jar, flour, and feeding routine each day.
Day 1
Day 1, you are simply creating the beginning of your sourdough starter.
In a clean glass jar, mix:
- 50 grams unbleached all-purpose flour, whole wheat flour, or half and half of each
- 50 grams room-temperature, filtered water
Stir until no dry flour remains. The mixture should look like a thick pancake batter or paste. Scrape down the sides of the jar, loosely cover with a lid or tea towel, and place a rubber band around the jar to mark your starting level.
At this point, your starter will look very plain, and there won’t be bubbles, rising, or much activity. That’s normal and to be expected. We are just waking up the yeast at this point.
If you’re using a jar that didn’t come with a rubber band, I recommend getting something to be able to see your starter rise:
silicone fermentation bands
colorful rubber bands
Day 2
On Day 2, your sourdough starter will likely still look quiet, or you may see a few tiny bubbles. Either way is normal.
Discard about half of what is in the jar, and then feed what remains with:
- 50 grams flour (whatever you used on Day 1)
- 50 grams room-temperature, filtered water
Stir well, scrape down the sides, loosely cover, and return it to a warm spot.
On Day 2, you might notice:
- Your starter smells like wet flour, dough, or even slightly sweet.
- A little bit of bubbling (none is still normal at this point, too.)
- Slightly looser texture
- Little to no rise
Day 3
Day 3 can be confusing because you might notice your starter suddenly looks active with bubbles and some rising or even doubling in size in some cases. This happens because the first wave of bacteria is becoming active. It can make your starter look like it is ready to bake with, but the wild yeast are just beginning to strengthen up, and they are not reliable quite yet.
Even if your starter doubles on Day 3, keep feeding it for the full 7 days before you try to bake with it.
Discard about half of what is in your jar, then feed with:
- 50 grams flour
- 50 grams room-temperature, filtered water
You might notice:
- More bubbles
- Possible doubling or rising
- Tangy, sour, or slightly funk smell
- Looser airy texture
These are all good signs, but it doesn’t mean your starter is mature yet. Keep going.
Day 4
Remember how I said Day 3 can be confusing? Day 4 is the reason. Your starter may suddenly stop rising, look flat or thin, and be lifeless compared to the day before. This is normal.
At this stage, those early rising bacteria begin to die back, and the stronger wild yeast and beneficial bacteria are still maturing. It may look like nothing is happening, but there’s more going on beneath the surface.
Discard half of what is in your jar, and feed with:
- 50 grams flour
- 50 grams room-temperature, filtered water
You may notice:
- Less bubbling than Day 3
- Little to no rise
- Sour, tangy, or slightly unpleasant smell
- Thinner or runnier texture
Do not dump it and start over unless you see mold, pink streaks, orange streaks, or a truly rotten smell.
Day 5
On Day 5, you may notice signs of life in your sourdough starter again. This might look like small bubbles throughout the jar, a lighter texture, or a small rise after feeding.
This is when the good yeast and bacteria are becoming more active.
Discard half of what is in your jar, then feed with:
- 50 grams flour
- 50 grams room-temperature, filtered water
After feeding, watch your starter over the next several hours. It might rise slightly, develop bubbles along the sides, or smell more pleasantly sour instead of harsh or unpleasant.
You might notice:
- Bubbles on the surface or sides of the jar
- Slight rise after feeding
- More pleasant sour smell
- Thicker, airy texture
If your starter still has minimal activity, it has not failed. It simply may need a few extra days.
Day 6
On Day 6, your starter may be acting more consistently. After feeding, you may notice it rising higher than before and forming larger bubbles.
Discard half of what is in your jar, then feed with:
- 50 grams flour
- 50 grams room-temperature, filtered water
At this point, pay attention to how long it takes your starter to rise after feeding. A healthy starter will usually rise, peak, and then slowly fall back down as it uses up its food.
You might notice:
- Larger bubbles
- More noticeable rise
- Mild tangy or yeasty smell
- Fluffy consistency
- Activity that seems more predictable
This is a good time to start watching to see if it rises to double its size. Either way, keep going.
Day 7
By Day 7, some sourdough starters are ready to use, but it depends on how active and predictable it is.
A starter is usually ready to bake with when it doubles in size about 4-8 hours after feeding, has plenty of bubbles, and smells pleasantly tangy, yeasty, or slightly sweet. It should look airy and active, not flat and watery.
Discard half of what’s in your jar, then feed with:
- 50 grams flour
- 50 grams room-temperature, filtered water
Mark the level with a rubber band and watch what happens.
Your starter may be ready to use if:
- It doubles in size after feeding.
- It has bubbles throughout the jar.
- It smells pleasantly sour, yeasty, or slightly fruity.
- It rises and falls predictably.
- It looks light, airy, and active.
If your starter does not double by Day 6, do not throw it away. Many homemade sourdough starters take 10-14 days to become strong enough for baking, especially in a cooler climate or kitchen. Keep feeding it once a day until it consistently doubles after feeding.
Once it is consistently active and doubling, you can use it to bake your first loaf of homemade sourdough bread.
What Should Your Sourdough Starter Look Like Each Day?
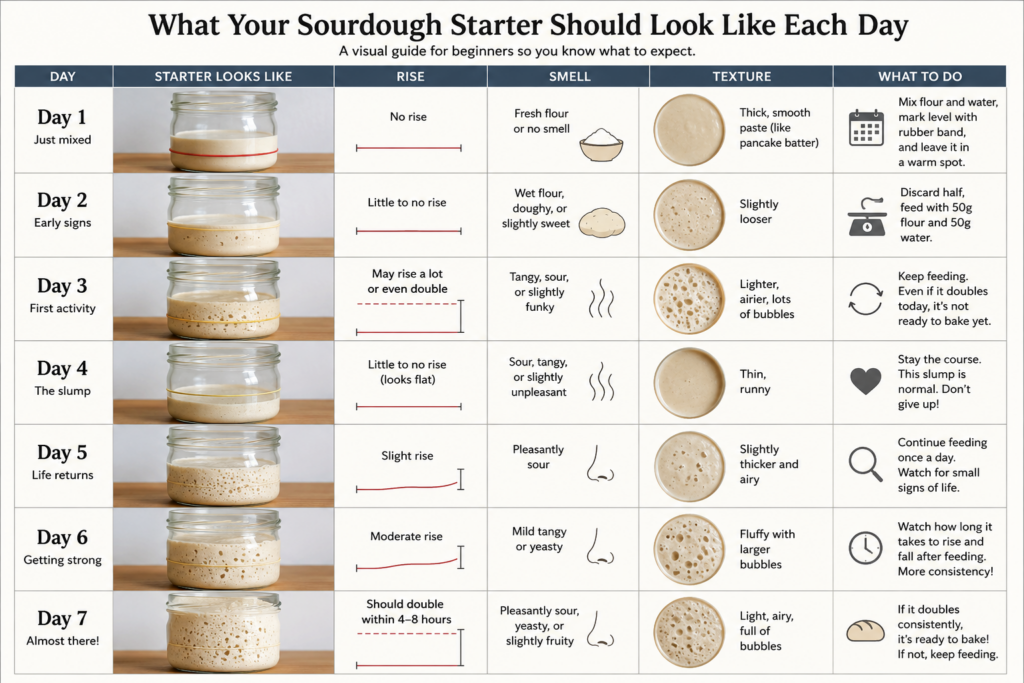
Congratulations! If your starter is bubbling, doubling after feedings, and smells pleasantly tangy, you’ve successfully created your very first homemade sourdough starter.